The warmer months are coming up, and you will want to take advantage of your inground pool for as long as possible. You’ll also want your pool opening to be stress-free - and so do we! To avoid doing too much extra work, it’s important to open your pool properly the first time.
Read on for an in-depth guide on opening your inground pool after the winter!

It’s always best practice to collect everything you need to open your pool before you get started. Having all your supplies ready makes the process quicker and easier so you don’t need to make more orders than you need, or run in and out of your garage.
Start-up Chemicals
OR
A Pool Opening Kit (we recommend Rx Clear)
Leaf Blower, Leaf Net, or Soft Broom
Garden Hose with Filter
Safety Goggles (when using chemicals)
Chemical Resistant Gloves

You may notice that your pool cover has accumulated debris and water on top of it after the fall and winter. If you don’t clean it before lifting it off your pool, you risk any debris and stagnant water that has gathered on top falling into the pool, creating a larger issue that you will have to fix before swimming.
Use the Pool Cover Pump to drain away any water on the top of the cover - place the pool cover pump as close to the center of the pool cover as possible, which will indent the pool cover and allow all water to drain down
Carefully use a leaf blower, leaf net, or soft broom to remove the remaining debris
Drain any water bags holding down the cover (or remove anything else that you’re using)
Use a leaf blower, net, or brush to remove the debris the cover has caught over time
Remove what has been holding the cover in place
Make sure that whatever you use to clean off your cover isn’t likely to damage it! A metal rake isn’t a good idea, but a Leaf Skimmer is.

You might want an extra pair of hands for this next part! You’ll need to move your cover from your pool to somewhere large enough to lay it flat so you can clean it. While moving the cover you’ll also want to avoid dragging it over any rough surfaces to prevent damaging the cover. It can help to have a friend stand on the opposite side of the pool to help fold the cover back and forth on itself to make it easier to move.
This is the perfect time to check over your cover for any damage. If it’s damaged, you won’t need to clean and store the cover; instead use it as an opportunity to replace the cover. We recommend Buffalo Blizzard® Winter Covers.
Move your cover to a large, flat area where you can unfold it and spread it out flat. Apply a Pool Cover Cleaner and use a soft broom to scrub it gently. It’s important to use a cleaner that isn’t abrasive or harsh, so we recommend Rx Clear’s Tile and Vinyl Cleaner.
Rinse away all the cleaner with a hose, and dry it before folding it again to store. Store the cover inside a storage bag, or a heavy-duty container with a lid. If you use water weights to weigh down your cover, empty them and allow them to dry before storing. It’s best not to store your pool cover on the ground or floor, as bugs, rodents, and other pests can damage it easier.

Use a Skimmer Net to grab anything that has fallen into your water, either over winter or during folding up your cover. This isn’t the last time you’ll be cleaning during the opening process, but it will make all the other cleaning you do easier. Removing any larger debris now will prevent it from clogging your filtration system when turned back on.

When closing your pool for winter, you likely drained your pipes and plugged everything up to protect them. This will all need to be unplugged so that your pool can go back to normal now it’s no longer at risk of freezing.
You’ll need to walk around your pool and remove any plugs you added. You will see some bubbles as water flows back into the pipes - that’s perfectly normal! If you used an ice compensator in your skimmer, this is the right time to remove it and any winterizing plugs. This is also a good time to replace the filter basket!

Anything that has been taken apart or stored for winter must be reassembled before you get your pool up and running. There’s no specific order in which these must be assembled - but they should all be assembled and properly placed before adding water to your pool or turning anything back on.
Some examples of things that may need to be reinstalled are:
Diving Board (now is also a good time to grease the hinges!)
This isn’t exhaustive, but it’s a good start!

You may notice that a few inches of water have been lost over the winter, even if you used a solid winter cover. This is when you would fill your pool up again - being sure to use a hose with a filter on it to ensure that you don’t add in more debris. You want to make sure that the water is at least halfway up your skimmer.

This can be a little complicated, so we’ll walk through it step by step.
Firstly, reinstall the drain plugs in your pump and filter using the Thread Seal Tape. Next, lubricate any of your O-Rings with Pool Gasket Lubricant to protect them. Make sure to use the same lubricant on your pump housing as the O-Ring. Take the time to inspect the O-Ring, making sure that there aren’t any cracks that may suck air into your pump. If there are, then the O-Ring has to be replaced immediately. If you have a pool heater or an automatic chlorinator, these will also have drain plugs that need replacing.
The next step is to examine your filter. Wash or replace any Filter Media - things like cartridges - if necessary. Replace the air bleeder, sight glass, and pressure gauge if you removed them last winter.
Now, open your return side valves, ensuring that the water being pulled into your pump has somewhere to go.
If you used antifreeze when you closed your pool, you can expel it from your lines by turning your multipool valve to waste. Don’t worry if a little goes into your pool water - pool antifreeze is non-toxic and will be filtered out in subsequent filtering cycles.
Take a breath - because your pump and filter are now primed and running!

The next step is to remove any lingering debris from your pool that might have been missed. There are many ways to do this:
Use a Brush to remove dirt and algal blooms from the sides of your pool
Use a Vacuum to remove dirt and larger debris from the bottom of your pool
Use a Leaf Rake to remove leaves and larger debris from the top and the bottom of your pool

Your metal levels may have increased during the winter months with your pool’s water being stagnant. Either take a sample of your pool water to a local store or do it yourself with a Test Kit (just check that it also tests for metals!)
Metals in your pool can cause staining and clouding or discoloration of your pool if not treated. Use a Metal Remover in order to get those levels back down to 0ppm.

Once you’ve tested your water and know which levels are wrong in your pool (check out our blog The Chemicals Behind a Balanced Pool for the perfect levels) then you know what you need to add, and how much! We also have a blog on How to Balance Pool Water that you might want to check out before your start.
Adjust your Alkalinity first, then pH, and finally your calcium hardness. Shock the pool in the next step, so you don’t need to worry about chlorine or sanitizer levels. It’s also important not to use any unnecessary chemicals at this stage.

Shocking your pool can kill algae spores, bacteria, and clean your water. We recommend double shocking your pool on opening, using two pounds of chlorine shock per 10,000 gallons of water. Make sure to wear safety goggles and chemical-resistant gloves! It’s also better to shock at night when UV rays can’t weaken the chlorine before it gets to work. We recommend reading through our Beginner’s Guide to Shocking Your Swimming Pool.

Now it’s time to take a break! Leave your filtration system running for at least 24 hours to mix up the shock and filter remaining debris, dead algae spores, and anything else that’s in your pool. After you’ve taken the time to let the filtration system cycle, your pool should be crystal clear.
But what if your pool is still cloudy? Well, that’s probably still from the shock. You can either wait a little longer for it to dissipate or add Pool Clarifier to clear it quicker.
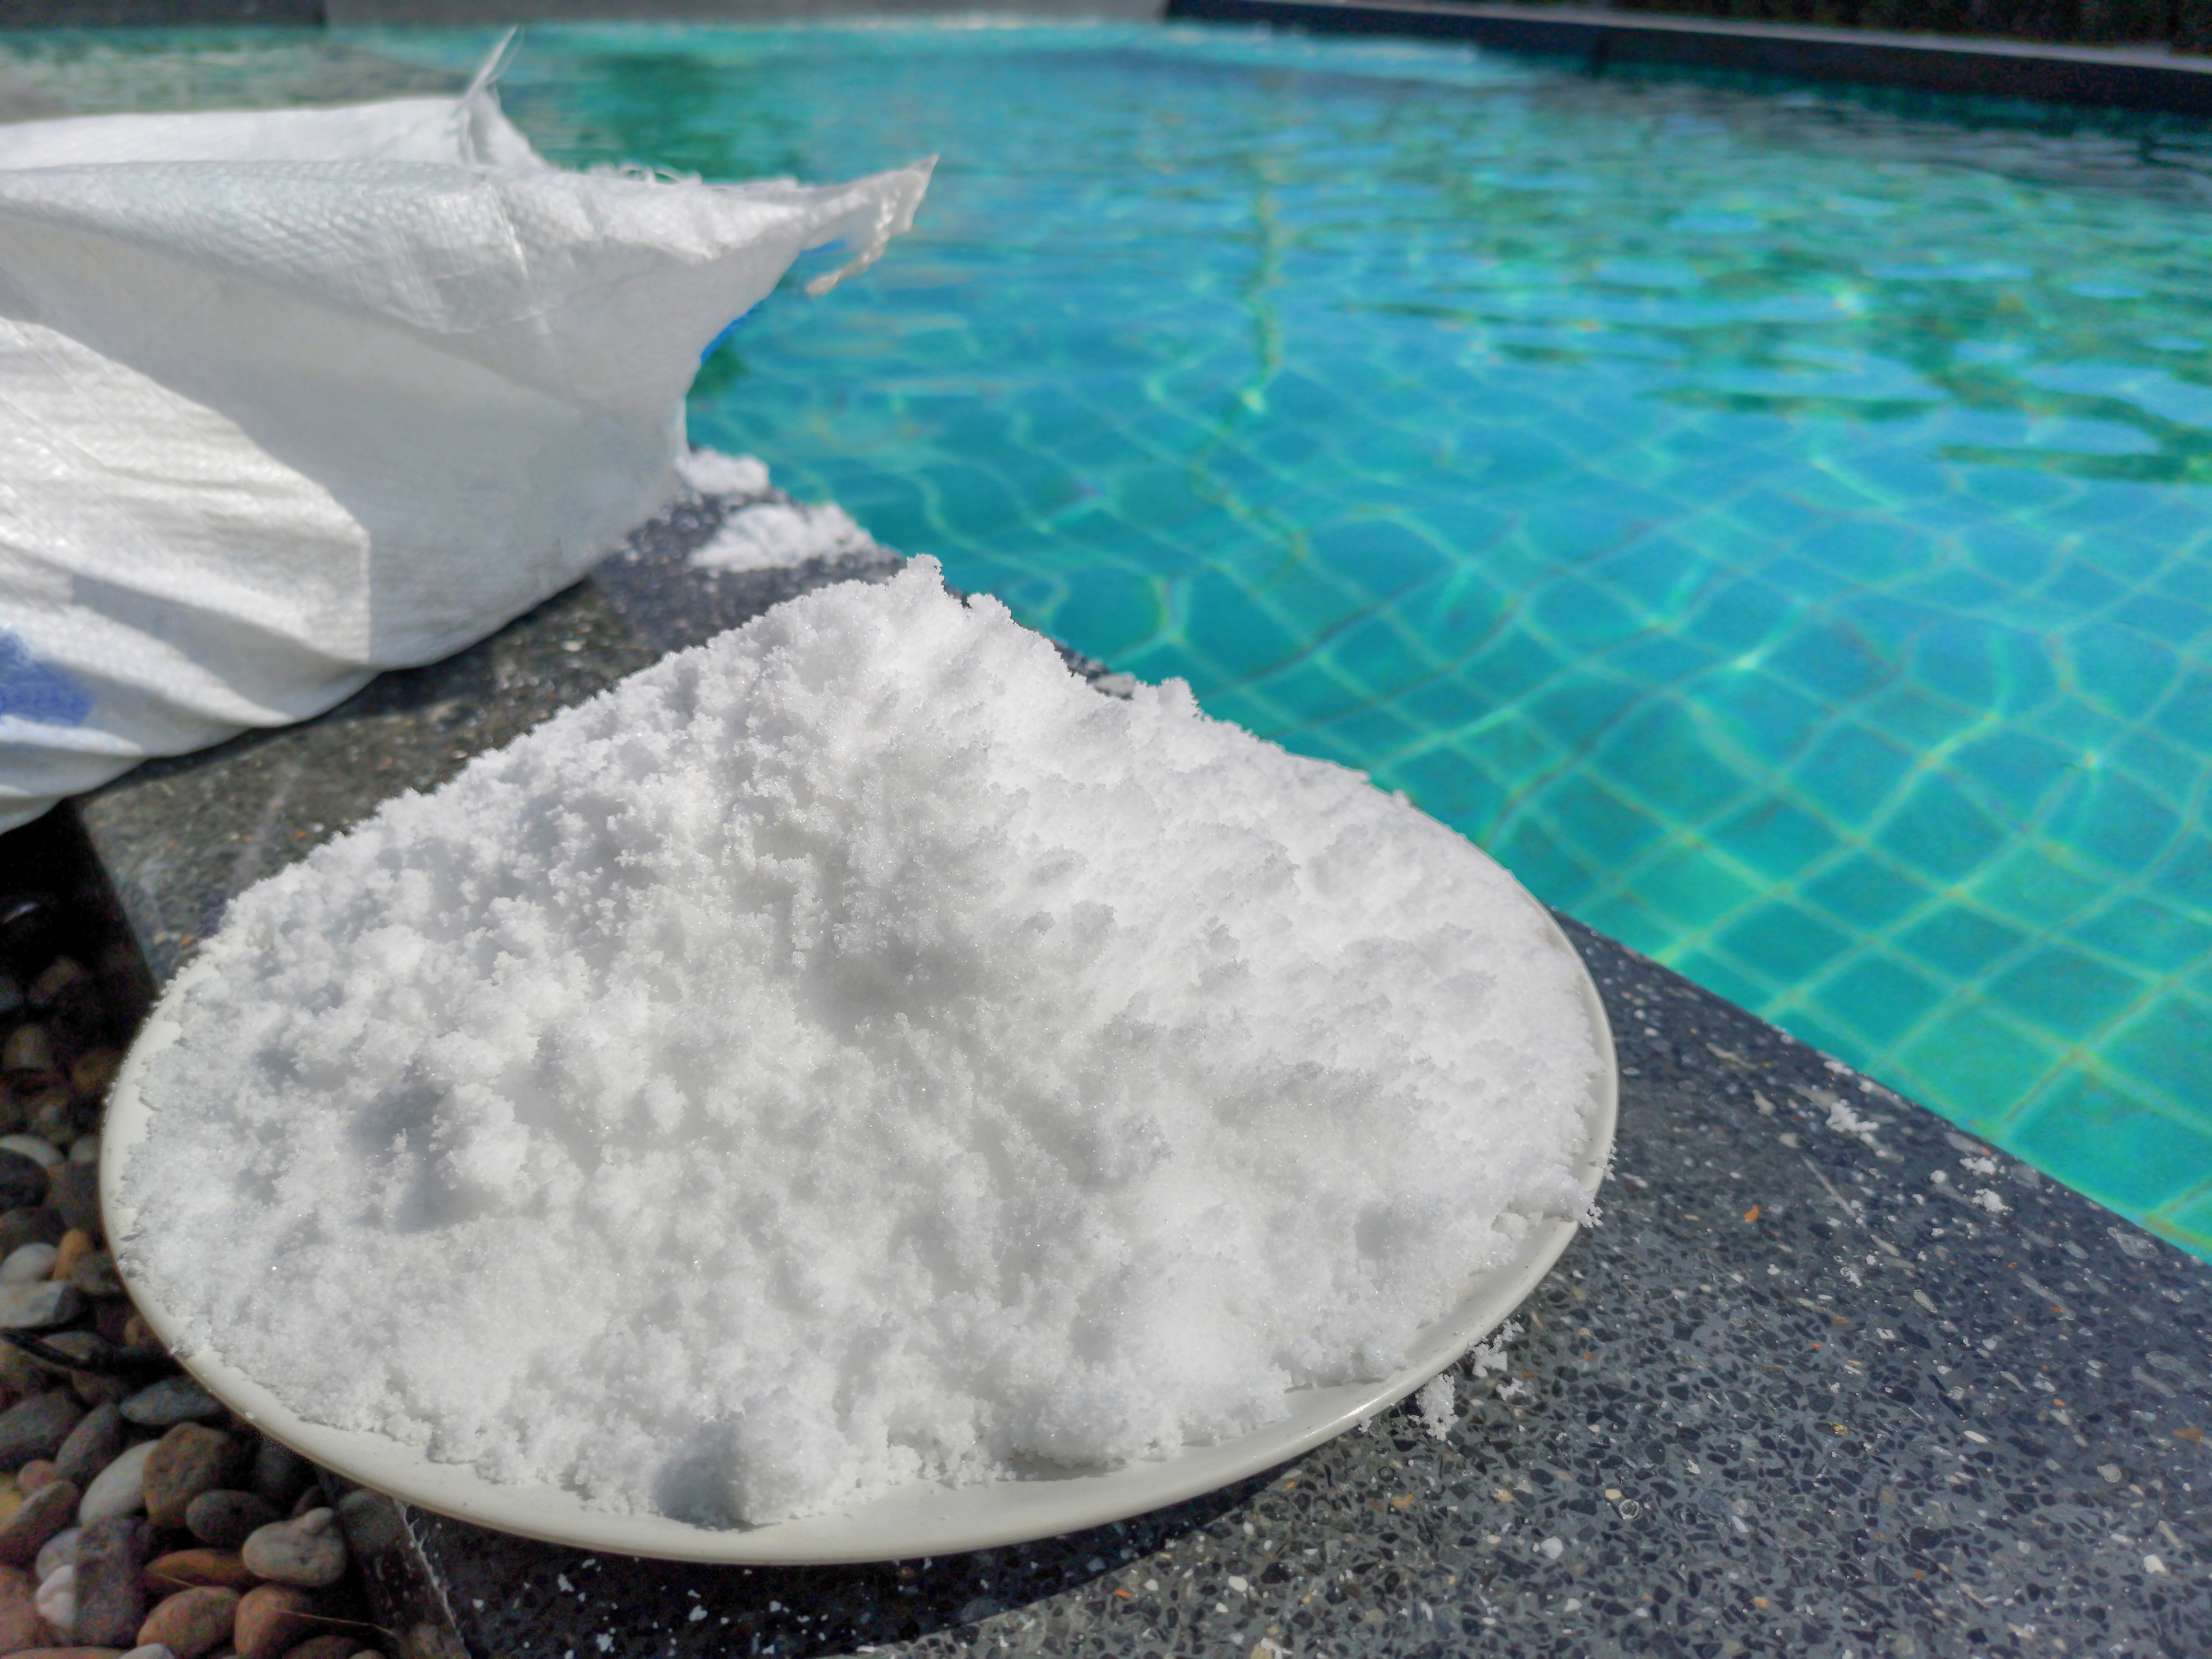
After you’ve balanced other chemicals, and shocked your water, it’s time to add salt and get your saltwater system up and running. Wait until the chlorine levels have dropped back into the normal range after your shock treatment.

After adding your shock, retest your chlorine levels to ensure they have returned to normal levels (1 to 3 ppm). This is also a good time to retest to ensure all your pool’s levels are correct. Now’s also the time to add sanitizer to your pool, like chlorine tablets, and set your automatic chlorinator.

You’re nearly finished and ready to start enjoying your pool! Before you do, though, there are a few more steps that you can take to make sure that your pool is the safest it can be.
First, spray down your pool deck to rinse any chemicals that may have spilled without you noticing. This will prevent swimmers from stepping on them and damaging their skin.
Next, test any safeguards around your pool area, such as gate locks and door alarms. If anything isn’t working, fix it as soon as possible - they won’t do any good if they’re not working!
Finally, be sure to store all of your chemicals safely and out of the reach of your children and pets. Keep them in a cool, dry place in their original packaging, and ensure the containers are closed properly and the chemicals cannot mix.